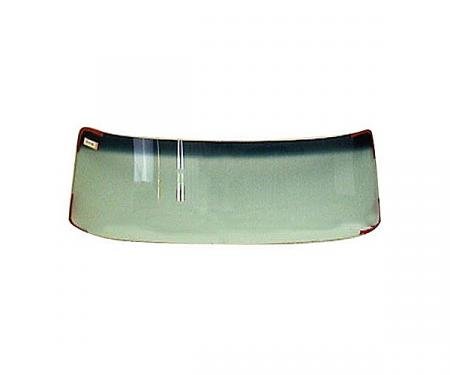
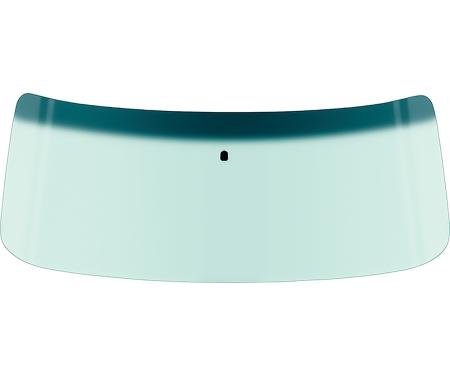
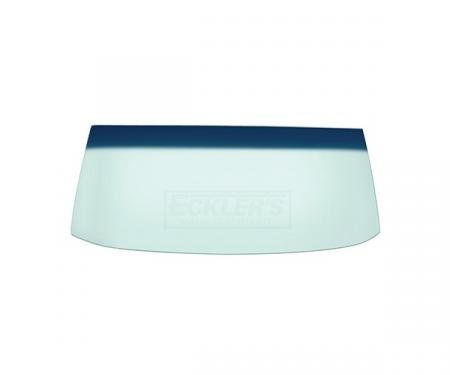
Precision Windshield Glass Laminated Clear 4235S CLN is a laminated, clear replacement windshield engineered to restore optical clarity, structural integrity, and occupant protection. Manufactured to OEM-style specifications, this glass provides laminated safety (PVB interlayer) that helps hold fragments on impact, reduces wind and road noise, and improves weather sealing. Ideal for windshield replacement or vehicle restoration projects where durability, reliable fit, and long-term clarity are required.
Features:
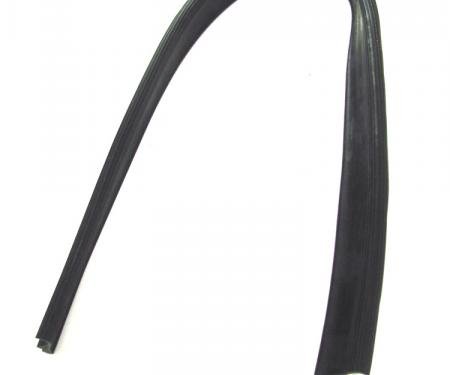
- Laminated clear windshield glass (PVB interlayer) for enhanced occupant safety and impact retention.
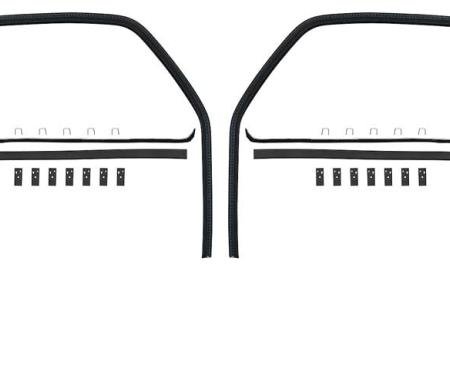
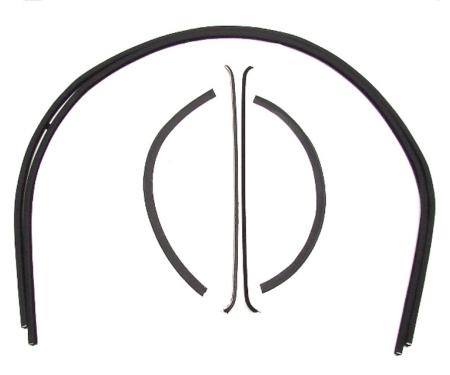
- Manufactured to OEM-style dimensions and tolerances for direct replacement and good fitment.
- Optical-grade glass minimizes distortion for improved driver visibility and comfort.
- Resists delamination and provides UV filtering to protect interior surfaces.
- Helps reduce wind noise and improves cabin sealing when installed with proper urethane.
- Durable construction suited for restoration or routine replacement maintenance.
Installation / Application:
- Difficulty: 4/5
- Estimated time: 1–2 hours install time (plus adhesive cure time: typically 1–24 hours; follow adhesive manufacturer for drive-away time)
Instructions:
- Park vehicle on level surface and disconnect the battery if required by vehicle manufacturer.
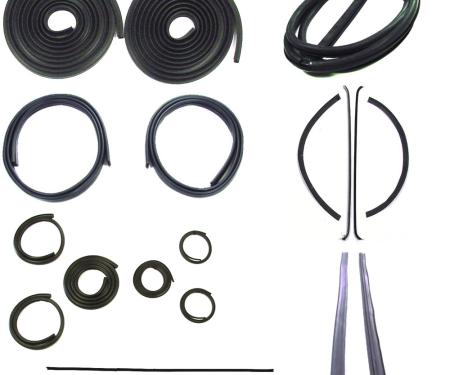
- Remove exterior trim, moldings, and any components that obstruct windshield removal.
- Cut and remove the old windshield adhesive using appropriate cut-out tools or wire, taking care to protect the pinch weld and paint.
- Carefully lift out the old glass using suction lifters; have a second person assist to avoid damage.
- Clean and prepare the pinch weld: remove old urethane, rust, and contaminants; wipe with isopropyl alcohol and allow to dry.
- Apply urethane primer to the pinch weld and primer to the windshield bonded area if required by adhesive manufacturer; let primers flash per instructions.
- Load the urethane adhesive into the caulking gun and apply a continuous, even bead around the pinch weld per vehicle-specific bead size guidelines.
- With assistance, position the new windshield using suction lifters and gently set it into the adhesive bead, aligning it to OEM reference points; press evenly to seat.
- Reinstall trim and moldings, temporarily tape the windshield as needed to maintain position during initial set.
- Allow adhesive to cure per the urethane manufacturer's recommendations before driving; reinstall any remaining components and verify a watertight seal after full cure.
About Precision Replacement Parts
Since 1986 Precision Replacement Parts has been a trusted name in the Automotive Glass Industry.
Our knowledge and experience in manufacturing millions of extruded and molded EPDM Rubber, PVC and HDPE based plastics, and various stamped and extruded metal products for the classic and late model industries has allowed Precision to expand our services into multiple product markets.
Along with our own USA based production facility, Precision also partners with 25 different manufactures worldwide with a reputation as a global leader supplying OEM and replacement products to a number of different industries. Our partnerships along with our own in-house manufacturing and fabrication capability gives Precision a unique position in helping to meet the expanding needs of customers everywhere, providing them with a sustained competitive advantage.

Vehicle Fitment:
The Vehicle Fitment Guide is to be used as a general reference. The data has been provided by our suppliers and manufacturers and may contain errors or incorrect data. Always refer to a professional to verify correct fitment for your vehicle.
| Make |
Model |
Years |
| Chevrolet |
Truck |
1947 - 1953 |
| GMC |
Truck |
1947 - 1953 |