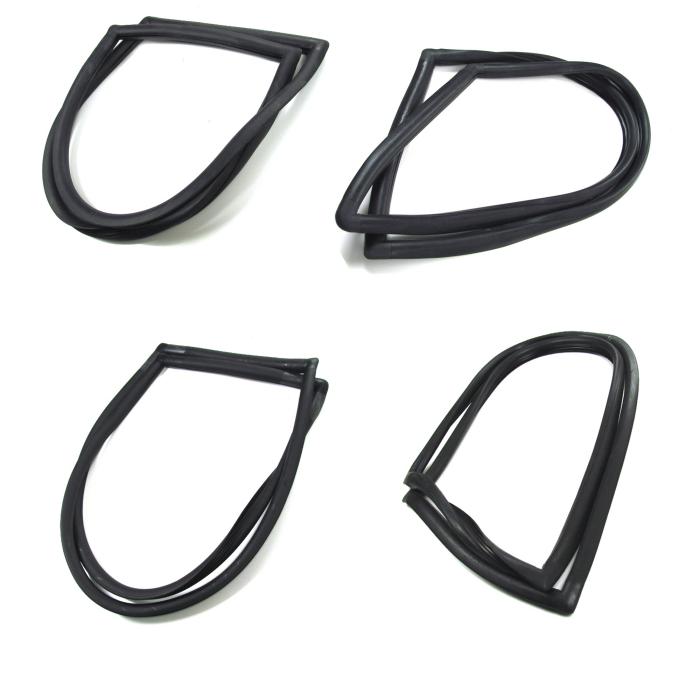
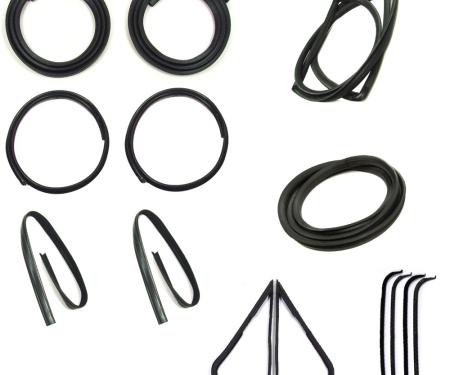
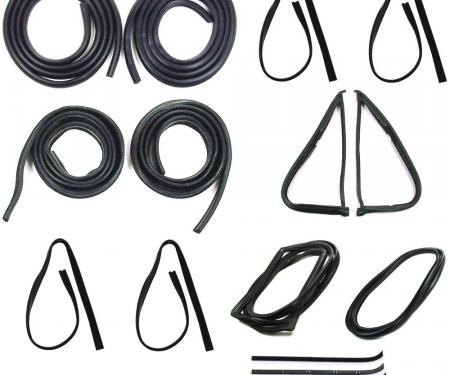
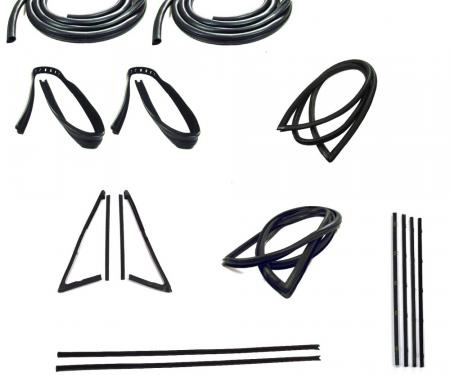
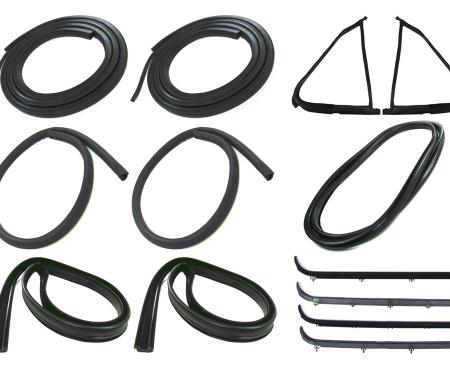
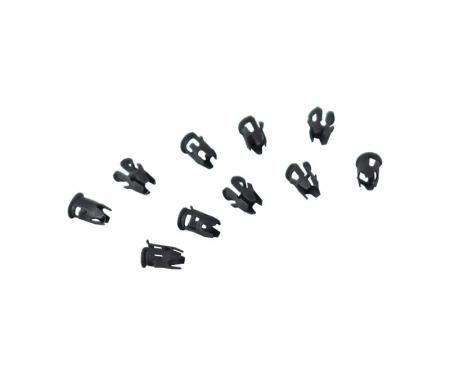
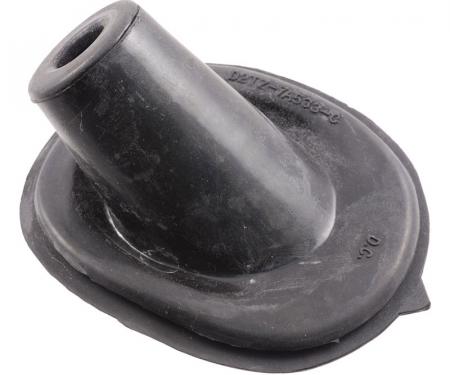
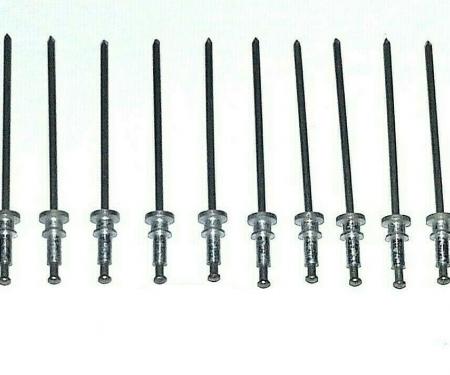
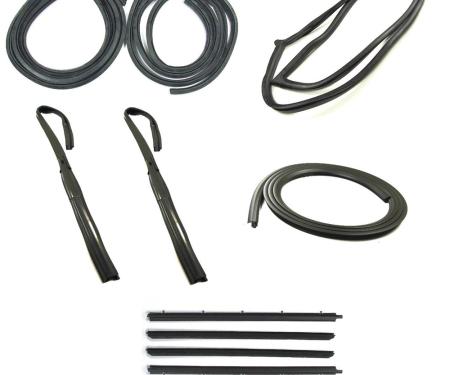
Complete weatherstrip seal kit engineered for 1966–1977 Ford Bronco models to restore and protect original cabin and body sealing. The kit replaces worn door, window and body opening seals to prevent water intrusion, wind noise, dust entry and heat loss while helping reduce corrosion and interior damage. Made from durable automotive-grade rubber compounds with profiles matched to original specifications, it delivers long-lasting reliability and a near-OEM fit for restoration or maintenance projects. Easy to test-fit and install with basic tools, this kit is ideal for restoring seal performance and preserving vehicle value.
Features:
- Fitment: 1966–1977 Ford Bronco (complete weatherstrip seal kit)
- Manufactured from automotive-grade rubber designed for durability and weather resistance
- Replaces door, window and body opening seals to prevent leaks, drafts and road noise
- Helps protect interior trim and sheet metal by reducing moisture intrusion and corrosion
- Designed for straightforward restoration use—trim, test-fit and adhesive application required
- Restores near-original sealing performance for improved comfort and vehicle value
Installation / Application:
- Difficulty: 2/5
- Estimated time: 2–4 hours (typical for both doors and major openings)
Instructions:
- Remove old seals: carefully pry out existing weatherstrip and fasteners using trim tools and screwdrivers; retain any reusable clips.
- Clean mounting surfaces: remove adhesive residue, dirt and rust. Wipe surfaces with rubbing alcohol and allow to dry completely.
- Test-fit new pieces: position each new seal in its channel without adhesive to confirm fit and identify any trimming points.
- Apply adhesive: follow the adhesive manufacturer’s instructions. Apply a continuous bead of weatherstrip adhesive to the seal or mounting flange as recommended.
- Install seals: press the weatherstrip firmly into the channel, aligning corners and retaining features. Use masking tape to hold pieces in place where needed.
- Trim excess: cut any overhang with a utility knife or scissors for a neat finish; ensure corners and end caps seat properly.
- Cure time: allow adhesive to set as specified (typically 1–24 hours) before closing doors or exposing to moisture.
- Final check: inspect for gaps, leaks or loose areas. Reinstall any trim or hardware removed and test for wind noise and water tightness.
About Precision Replacement Parts
Since 1986 Precision Replacement Parts has been a trusted name in the Automotive Glass Industry.
Our knowledge and experience in manufacturing millions of extruded and molded EPDM Rubber, PVC and HDPE based plastics, and various stamped and extruded metal products for the classic and late model industries has allowed Precision to expand our services into multiple product markets.
Along with our own USA based production facility, Precision also partners with 25 different manufactures worldwide with a reputation as a global leader supplying OEM and replacement products to a number of different industries. Our partnerships along with our own in-house manufacturing and fabrication capability gives Precision a unique position in helping to meet the expanding needs of customers everywhere, providing them with a sustained competitive advantage.

Vehicle Fitment:
The Vehicle Fitment Guide is to be used as a general reference. The data has been provided by our suppliers and manufacturers and may contain errors or incorrect data. Always refer to a professional to verify correct fitment for your vehicle.
| Make |
Model |
Years |
| Ford |
Bronco |
1966 - 1977 |