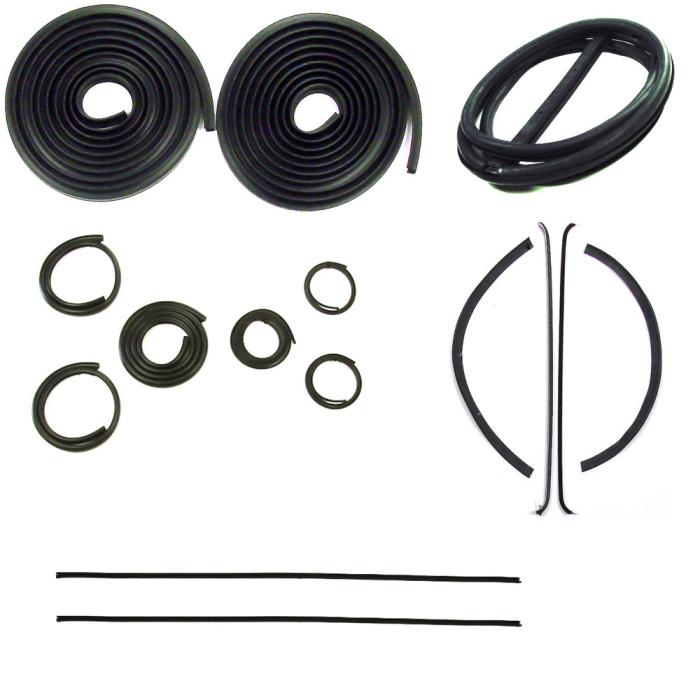
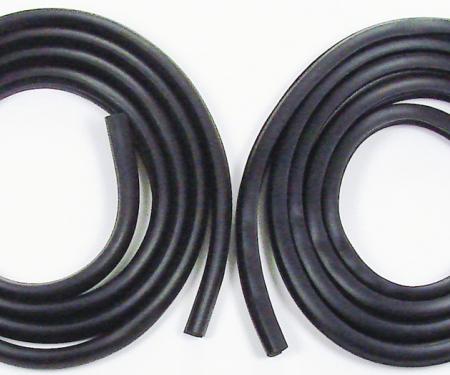
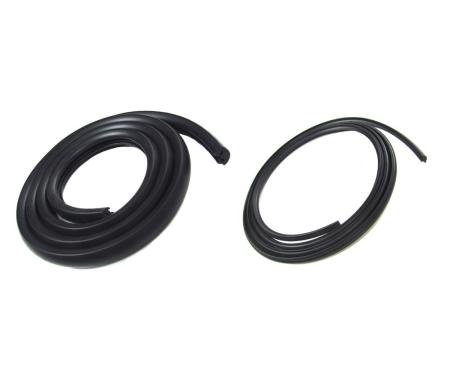
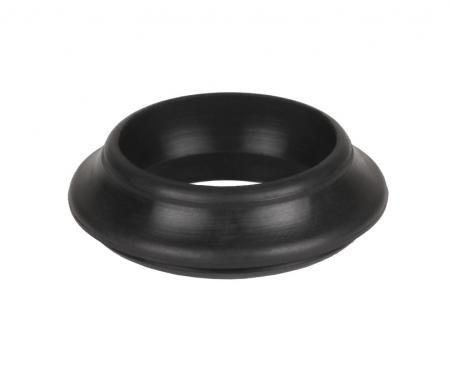
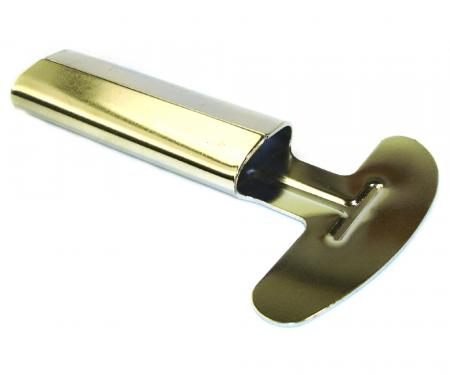
Complete weatherstrip seal kit designed for vehicles equipped with a weatherstrip trim groove. This kit supplies precisely profiled seals and trim components to restore a watertight, quiet cabin and to prevent wind noise, moisture intrusion, and trim rattle. Constructed from durable weather-resistant materials, the kit provides long-term compression set resistance and reliable sealing performance. Ideal for restoration projects and replacement applications where original-style fit and function are required.
Features:
- Fits models with a weatherstrip trim groove (verify groove style before purchase).
- Manufactured from weather-resistant EPDM-style compound for lasting flexibility and UV/ozone resistance.
- Restores door, window, and trim sealing to reduce wind noise, leaks, and vibration.
- Complete kit includes seal profiles and necessary trim/retaining hardware for installation.
- Easy to install with common hand tools; designed for restoration and replacement use.
Installation / Application:
- Difficulty: 3/5
- Estimated time: 1–3 hours (vehicle- and kit-dependent)
Instructions:
- Confirm kit matches the vehicle's weatherstrip trim groove profile and inventory all supplied pieces before starting.
- Carefully remove old weatherstrip and retaining trim. Use a trim tool or flat screwdriver to avoid damaging metal or paint.
- Clean the mounting channel and surrounding surfaces thoroughly with rubbing alcohol or appropriate cleaner. Remove all old adhesive and debris and allow to dry.
- Test-fit new seal pieces and retaining trim without adhesive to confirm orientation and necessary trimming.
- If required, warm the seals with a heat gun (low setting) to improve flexibility for tight corners or cold conditions.
- Apply a continuous bead of weatherstrip adhesive to the mounting channel per the adhesive manufacturer’s instructions (apply adhesive to the channel or to the seal as directed).
- Starting at one end, press the new weatherstrip into the groove, ensuring the bulb and flange seat fully. Work in short sections to maintain alignment and adhesion.
- Install retaining trim or clips (if supplied) to secure the seal in place. Use a rubber mallet or soft-faced hammer to seat trim clips evenly without deforming the seal.
- Trim any excess material with a utility knife or scissors for a neat fit at corners and stop points.
- Allow adhesive to cure per product instructions before closing doors or exposing to moisture. Re-check fit and make minor adjustments as needed.
About Precision Replacement Parts
Since 1986 Precision Replacement Parts has been a trusted name in the Automotive Glass Industry.
Our knowledge and experience in manufacturing millions of extruded and molded EPDM Rubber, PVC and HDPE based plastics, and various stamped and extruded metal products for the classic and late model industries has allowed Precision to expand our services into multiple product markets.
Along with our own USA based production facility, Precision also partners with 25 different manufactures worldwide with a reputation as a global leader supplying OEM and replacement products to a number of different industries. Our partnerships along with our own in-house manufacturing and fabrication capability gives Precision a unique position in helping to meet the expanding needs of customers everywhere, providing them with a sustained competitive advantage.

Vehicle Fitment:
The Vehicle Fitment Guide is to be used as a general reference. The data has been provided by our suppliers and manufacturers and may contain errors or incorrect data. Always refer to a professional to verify correct fitment for your vehicle.
| Make |
Model |
Years |
| Chevrolet |
Truck |
1947 - 1950 |
| GMC |
Truck |
1947 - 1950 |