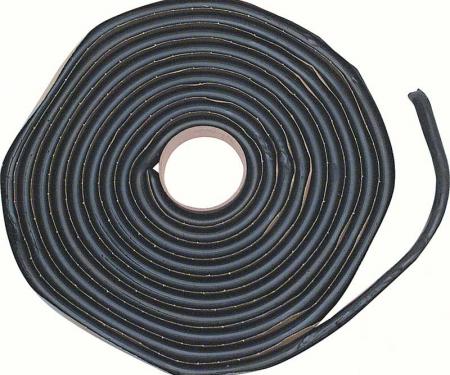
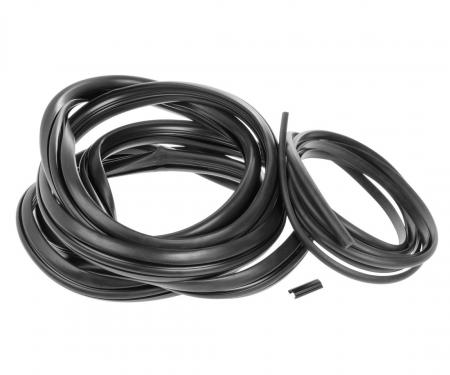
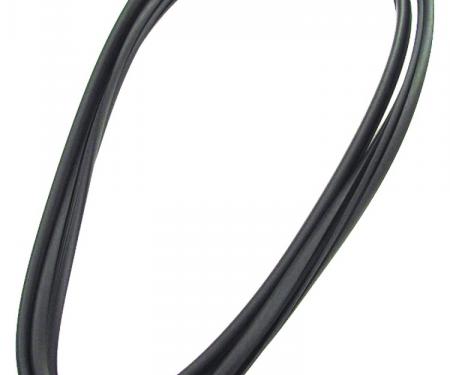
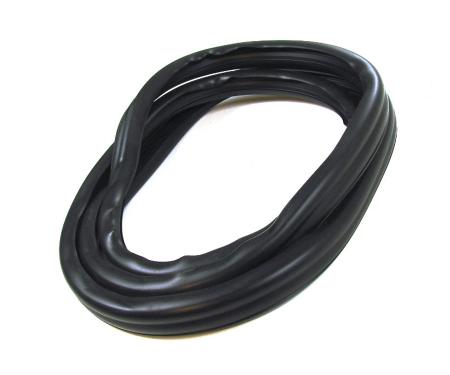
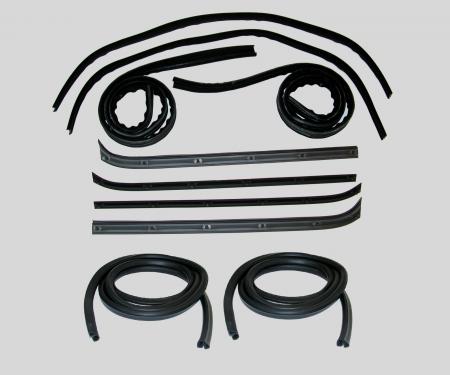
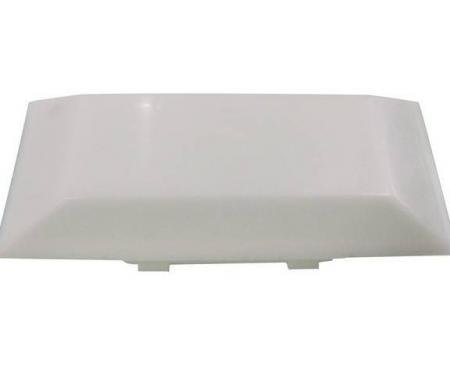
Precision Windshield Weatherstrip Seal With Trim Groove (WCR 687) is a replacement windshield gasket engineered to secure the windshield and engage rigid steel exterior trim. The extruded EPDM-style rubber provides a watertight seal that reduces wind noise, prevents leaks, and cushions glass against vibration. Designed for restoration and replacement use, this seal offers durable weather resistance, an accurate OEM-style profile, and a trim groove that locks rigid steel molding for a factory appearance and reliable function. Verify part number WCR 687 against your vehicle’s specifications before purchase.
Features:
- Designed to replace OEM-style windshield seals that use rigid steel exterior trim (verify WCR 687 for vehicle fitment).
- Extruded EPDM-style rubber resists ozone, UV, and temperature extremes for long-lasting performance.
- Integrated trim groove secures rigid steel molding for a snug, factory-like fit and appearance.
- Creates a watertight barrier to prevent leaks and reduce wind noise and vibration.
- Ideal for restoration projects and routine replacement to maintain glass alignment and safety.
- Flexible yet sturdy profile makes installation straightforward and reliable.
Installation / Application:
- Difficulty: 3/5
- Estimated time: 1-2 hours
Instructions:
- Park vehicle on a level surface and protect paint and interior with drop cloths.
- Carefully remove the rigid steel windshield trim molding using a trim tool or screwdriver to avoid bending the metal.
- Remove the old weatherstrip seal completely; cut and peel away any adhesive or remnants.
- Clean the windshield flange/pinch weld and trim seating area thoroughly with rubbing alcohol or solvent. Allow to dry.
- Test-fit the new seal around the windshield perimeter to confirm orientation and length; trim excess if necessary with a utility knife.
- If required, apply a thin, even coat of weatherstrip adhesive to the pinch weld or as recommended by the adhesive manufacturer. Allow tack time per adhesive instructions.
- Position the seal so the trim groove faces outward, then press the seal firmly onto the pinch weld working around the perimeter. Use suction cups or steady pressure to seat the seal evenly.
- Reinstall the rigid steel trim molding by engaging it into the groove on the seal. Start at one side and work around, easing the trim into place to avoid kinking.
- Inspect all corners and seams for full engagement; if needed, warm the seal gently with a heat gun to improve flexibility and seating.
- Allow adhesive to cure per manufacturer directions before driving. Check for leaks after a test wash and re-tighten or adjust trim if necessary.
About Precision Replacement Parts
Since 1986 Precision Replacement Parts has been a trusted name in the Automotive Glass Industry.
Our knowledge and experience in manufacturing millions of extruded and molded EPDM Rubber, PVC and HDPE based plastics, and various stamped and extruded metal products for the classic and late model industries has allowed Precision to expand our services into multiple product markets.
Along with our own USA based production facility, Precision also partners with 25 different manufactures worldwide with a reputation as a global leader supplying OEM and replacement products to a number of different industries. Our partnerships along with our own in-house manufacturing and fabrication capability gives Precision a unique position in helping to meet the expanding needs of customers everywhere, providing them with a sustained competitive advantage.

Vehicle Fitment:
The Vehicle Fitment Guide is to be used as a general reference. The data has been provided by our suppliers and manufacturers and may contain errors or incorrect data. Always refer to a professional to verify correct fitment for your vehicle.
| Make |
Model |
Years |
| Ford |
F-100 |
1973 - 1976 |
| Ford |
F-150 |
1975 - 1976 |
| Ford |
F-250 |
1973 - 1976 |
| Ford |
F-350 |
1973 - 1976 |