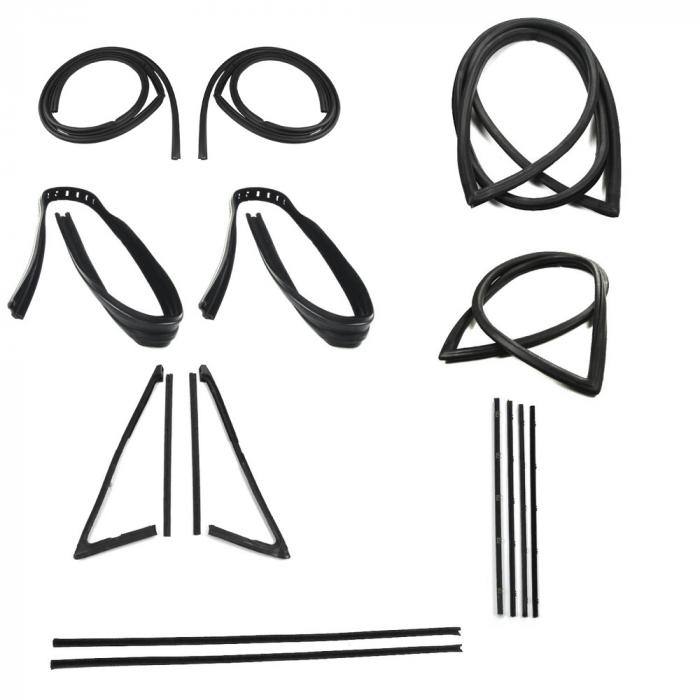
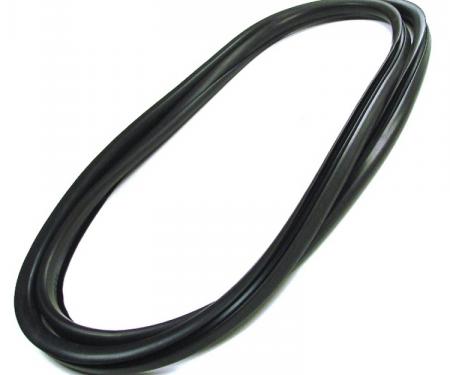
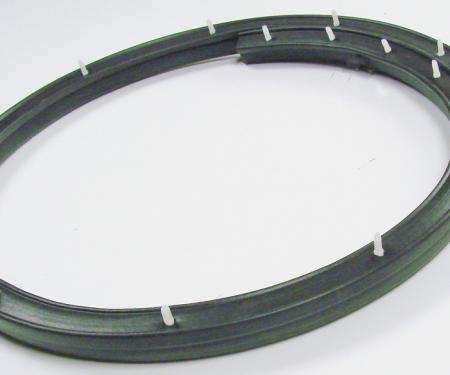
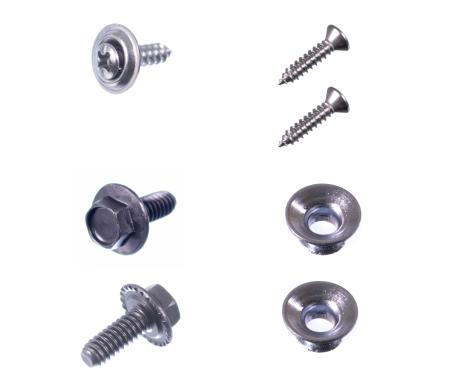
Complete weatherstrip seal kit designed for 1967 models configured without a weatherstrip trim groove — specifically for small rear windows and chrome beltlines. This kit replaces worn or missing seals to restore a watertight, quiet fit that protects the glass and body openings. Made from durable, long-life elastomer, the kit provides OEM-style fit and reliable sealing to prevent leaks, reduce wind noise, and protect chrome beltlines from abrasion and moisture. Ideal for restorations or routine replacement, the kit simplifies installation with profile-matched pieces for accurate alignment and a finished factory appearance.
Features:
- Fits 1967 models without a weatherstrip trim groove — for small rear window and chrome beltlines.
- Premium long-life elastomer construction resists UV, ozone and temperature extremes for lasting durability.
- Restores factory sealing to prevent water intrusion, wind noise and trim damage.
- Profile-matched pieces provide accurate alignment and an OEM appearance during restoration.
- Easy to install kit format replaces brittle or missing original seals for reliable performance.
- Protects chrome beltlines from abrasion and helps preserve painted surfaces.
Installation / Application:
- Difficulty: 2/5
- Estimated time: 60–120 minutes
Instructions:
- Remove the old weatherstrip and any remaining adhesive or backing; carefully lift and remove trim as needed.
- Thoroughly clean the sealing flange and chrome beltline areas with isopropyl alcohol; allow to dry.
- Test-fit each new weatherstrip piece to verify orientation and fit before applying adhesive.
- If adhesive is required, apply a thin, even bead to the flange per adhesive instructions; for interference-fit designs, a soapy water slip solution may be used to ease placement.
- Starting at the center top of the window opening, seat the weatherstrip into the channel and work outward toward each corner, ensuring the seal fully engages the flange and chrome beltline.
- Use masking tape to hold the seal in position if adhesive is used; trim any excess material with a utility knife or scissors for a neat finish.
- Allow adhesive to cure per the manufacturer’s recommended time before reinstalling glass or trim and before driving the vehicle.
- Inspect the installation for gaps, creases or pinch points; make small adjustments to ensure a continuous, uniform seal.
About Precision Replacement Parts
Since 1986 Precision Replacement Parts has been a trusted name in the Automotive Glass Industry.
Our knowledge and experience in manufacturing millions of extruded and molded EPDM Rubber, PVC and HDPE based plastics, and various stamped and extruded metal products for the classic and late model industries has allowed Precision to expand our services into multiple product markets.
Along with our own USA based production facility, Precision also partners with 25 different manufactures worldwide with a reputation as a global leader supplying OEM and replacement products to a number of different industries. Our partnerships along with our own in-house manufacturing and fabrication capability gives Precision a unique position in helping to meet the expanding needs of customers everywhere, providing them with a sustained competitive advantage.

Vehicle Fitment:
The Vehicle Fitment Guide is to be used as a general reference. The data has been provided by our suppliers and manufacturers and may contain errors or incorrect data. Always refer to a professional to verify correct fitment for your vehicle.
| Make |
Model |
Years |
| Chevrolet |
C10 Pickup |
1967 - 1968 |
| Chevrolet |
C20 Pickup |
1967 - 1968 |
| Chevrolet |
C30 Pickup |
1967 - 1968 |
| Chevrolet |
C50 |
1967 - 1968 |
| Chevrolet |
K10 Pickup |
1967 - 1968 |
| Chevrolet |
K20 Pickup |
1967 - 1968 |
| GMC |
C15/C1500 Pickup |
1967 - 1968 |
| GMC |
C25/C2500 Pickup |
1967 - 1968 |
| GMC |
C35/C3500 Pickup |
1967 - 1968 |
| GMC |
K15/K1500 Pickup |
1967 - 1968 |
| GMC |
K25/K2500 Pickup |
1967 - 1968 |
| GMC |
K35/K3500 Pickup |
1968 |